Outdoor Kitchens
Planning an Outdoor Kitchen for Rochester's Climate
An outdoor kitchen in Western New York has to survive months of snow and freezing temperatures. Good planning makes the difference.
By Patio North · · 3 min read
 Design inspiration
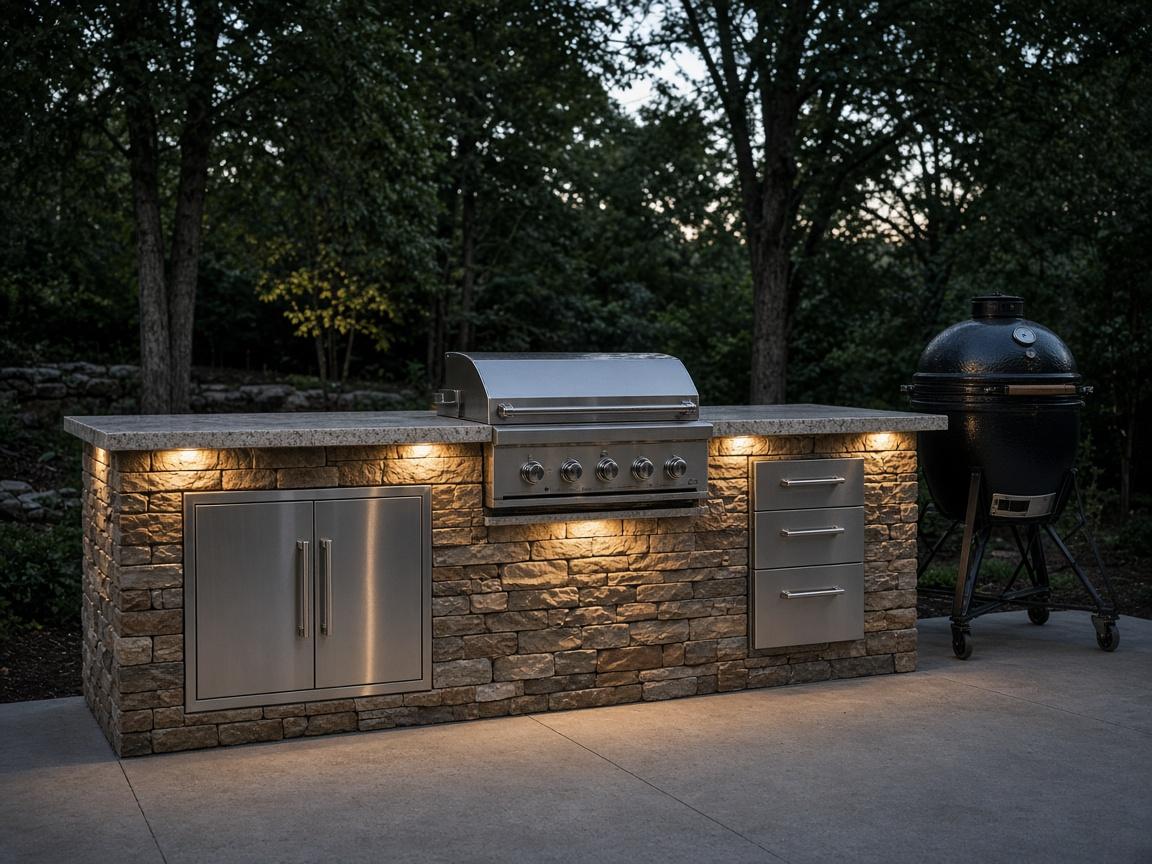
An outdoor kitchen changes how you entertain. Instead of shuttling between the grill and the kitchen, you cook where your guests are. In Rochester, though, an outdoor kitchen has to do something kitchens in milder climates don't: survive several months of snow, ice, and repeated freezing.
Here's how to plan one that works in July and holds up in January.
Start with how you cook
Before choosing materials, think through how you'll use the space:
- How many people do you typically cook for?
- Is it mostly grilling, or do you want a griddle, side burner, smoker, or pizza oven?
- Do you need refrigeration outside, or is the house kitchen close enough?
- Do you want a sink for prep and cleanup?
- Will guests sit at a bar counter, a dining table, or both?
The answers determine the size and shape of the kitchen, and how it relates to the patio and the house.
Layout basics
Good outdoor kitchens have clear work zones:
- Landing space on both sides of the grill for platters and tools
- Prep space near the sink or close to the house door
- Serving and bar space where guests can gather without crowding the cook
- Circulation so people can move around the island and dining area comfortably
Place the cooking area so smoke drifts away from seating and doors, considering prevailing breezes.
Materials that survive freeze–thaw
Rochester's freeze–thaw cycles are hard on outdoor materials. Water that soaks into a porous material expands when it freezes, causing cracks, spalling, or loosened finishes.
Countertops: Dense, low-absorption natural stone is a common choice. Some porous stones and tiled countertops with grout lines can struggle with freeze–thaw. Sealing helps but doesn't make an unsuitable material suitable.
Island structure and cladding: Masonry, natural or manufactured stone veneer, and modular frames are all options. The structure needs a stable base that won't shift with frost.
Cabinetry: Choose cabinetry rated for outdoor use, such as stainless steel, powder-coated aluminum, or marine-grade polymer. Indoor cabinetry won't last.
Appliances: Use appliances designed and rated for outdoor installation, especially refrigeration. Check the manufacturer's guidance on winter use and storage.
Utilities: plan them early, have them installed by licensed trades
Outdoor kitchens often involve gas, electrical, and plumbing. Each is regulated trade work that should be performed by licensed professionals with the required permits and inspections.
- Gas: Natural gas lines sized for the appliances, or propane. Plan the route before the patio is finished.
- Electrical: Outdoor-rated circuits and receptacles with appropriate ground-fault protection for refrigeration, lighting, and accessories.
- Water and drainage: Sinks require supply and drainage, plus a reliable way to shut off and drain lines before freezing weather.
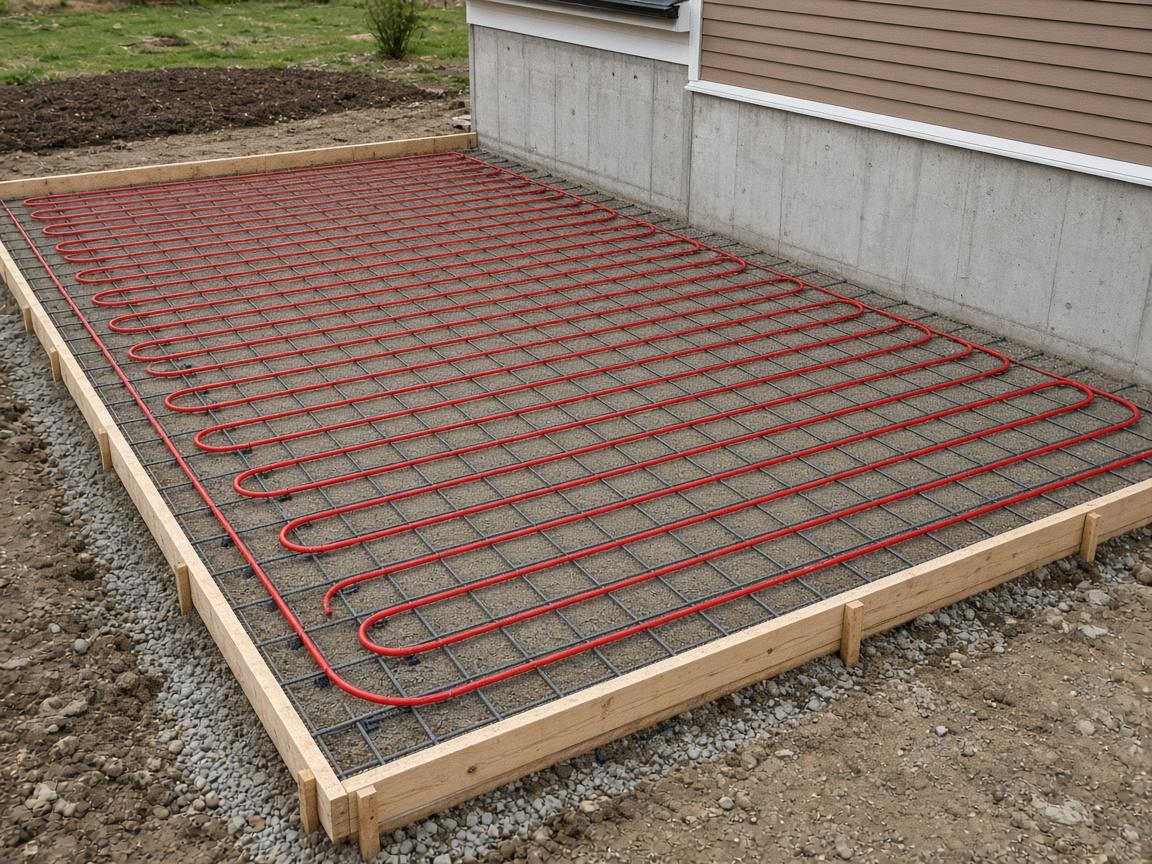
Placing conduit and sleeves before the patio is poured saves cost and avoids cutting finished surfaces later.
Winterizing
Water left in outdoor supply lines can freeze and burst pipes. Plan for:
- Accessible shut-off valves inside the house
- Lines that can be fully drained
- A sink and faucet that can be winterized each fall
- Refrigeration that's rated for outdoor winter conditions, or a plan to shut it down and store it
Covers for grills and countertops help protect surfaces from snow and ice.
Add shelter for a longer season
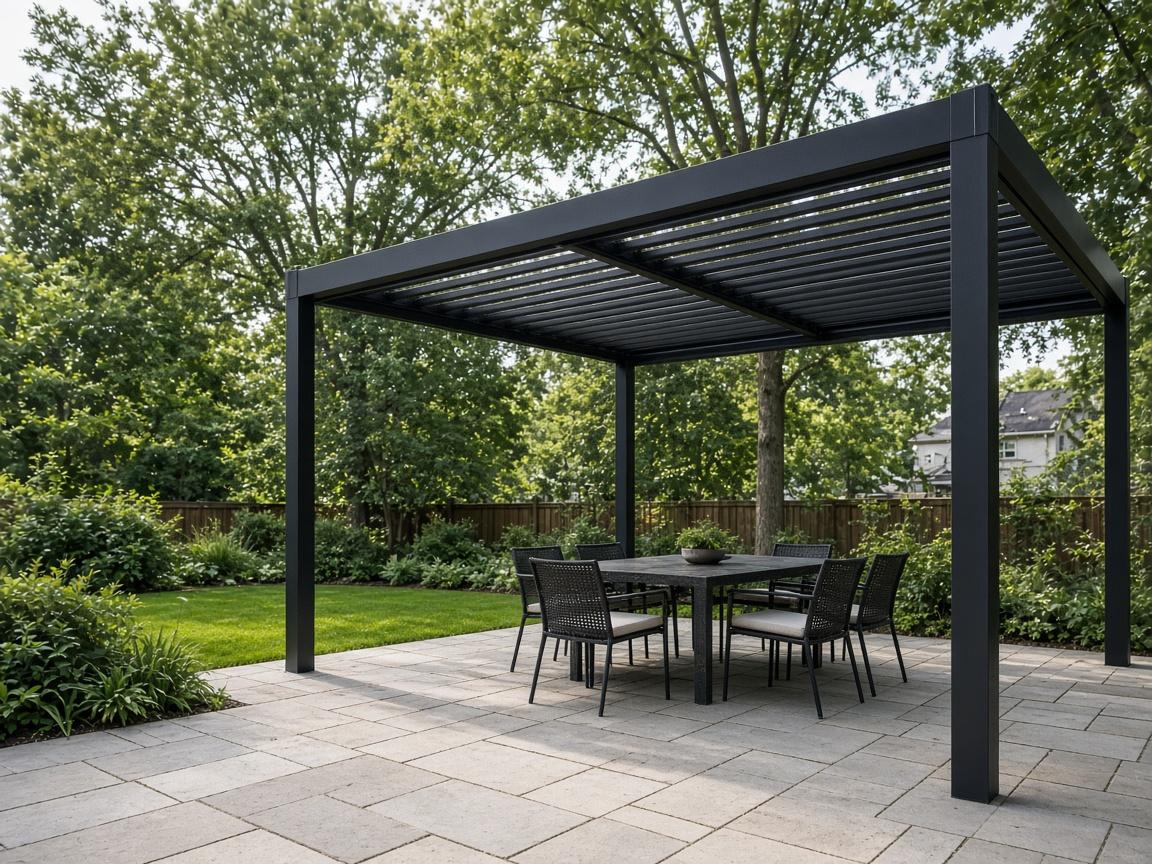
A pergola, louvered roof, or covered pavilion over the cooking area makes the kitchen far more usable in rain and cold. If the grill is under a roof, follow the manufacturer's clearance and ventilation requirements, which may call for an outdoor vent hood. Infrared heaters and a fire feature nearby can extend comfortable use into fall and early winter. See what to consider before installing a motorized pergola.
Lighting
Lighting is often overlooked. Plan task lighting over the grill and prep areas, under-counter lighting for ambiance and safety, and soft lighting around dining and lounge areas. Fall and winter evenings get dark early in Rochester.
Phasing
If the full kitchen isn't in the budget yet, you can phase it. Build the patio with utilities stubbed out, then add the island later. Or start with a grill island and add refrigeration, a sink, or a cover in a second phase.
The bottom line
A great Rochester outdoor kitchen starts with how you cook and entertain, uses materials rated for freeze–thaw exposure, brings in utilities through licensed trades, and plans for winter from day one. Do that, and it becomes one of the most-used parts of your home.
Learn more about outdoor kitchens or how a kitchen fits into a complete outdoor living space.
Plan your outdoor kitchen.
Tell us how you cook and entertain, and we'll help you shape a layout and scope that suits your yard.
Plan Your Project